 Souvenirs can be a major budget buster on your Disney vacation, so I wanted to chat today about a very affordable….and very fun…. Disney souvenir that you can make for yourself. One that, while inexpensive, will ultimately be priceless, because it contains memories.
Yup, we’re talking scrapbooks today.
This Does Not Have to be Hard
Now don’t run away, scrapbooking does NOT have to be complex, difficult, or expensive. Sure it CAN be all those things, but I am talking something simple and affordable. Something that you can feel comfortable creating, whether you have a design degree or don’t know the first thing about…well…anything artistic.
Art doesn’t have to be difficult. Really. Just take a deep breath, relax, and concentrate on what you ultimately want to do: create a keepsake of those magical memories of your Disney World vacation. That’s it. Keep that goal in mind, and forget the rest.
It Doesn’t Have to be Expensive Either
I do want you to think about cost early on though, because you want to have this in mind while you are on your Disney vacation: you are going to be gathering items to put in your scrapbook. Free items. We are not going to spend a lot on this album, because we are talking about affordable Disney vacation souvenirs here. So throughout your trip, watch out for things that cost you nothing that you can put in your book.
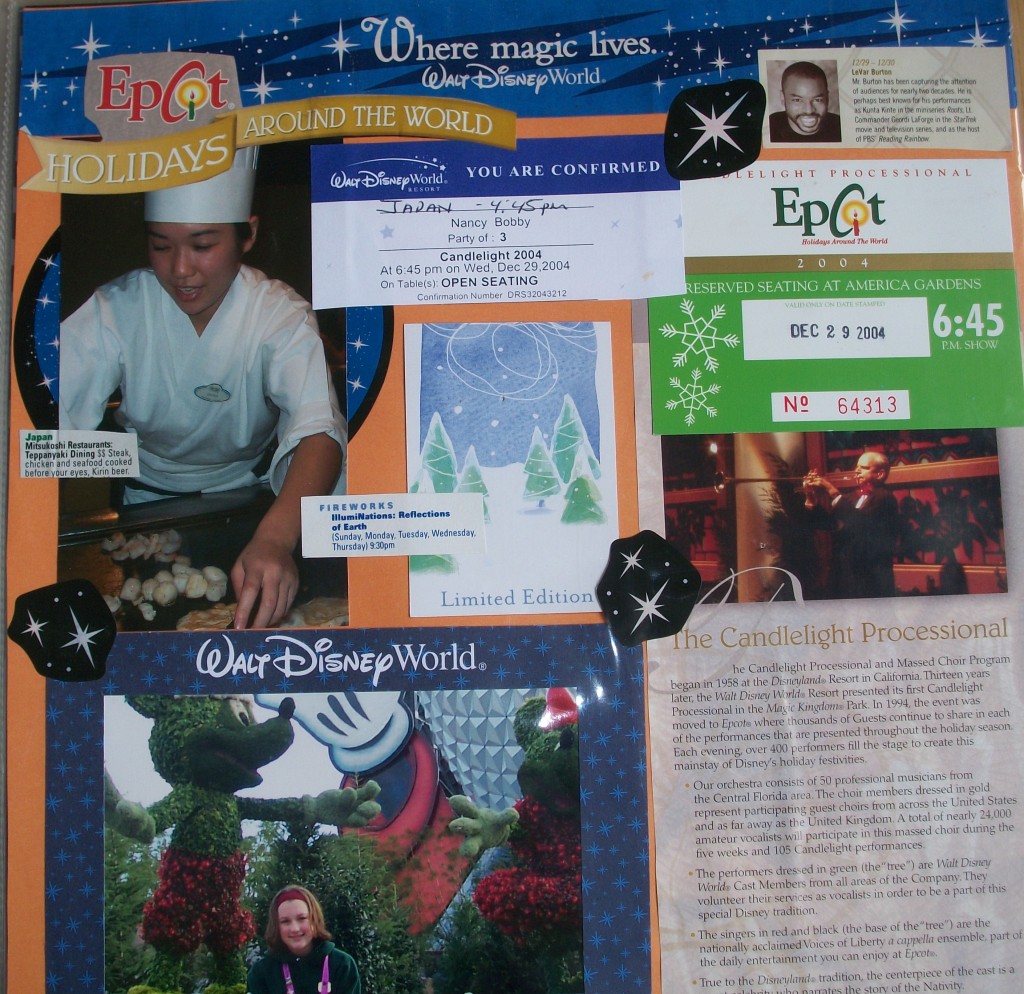
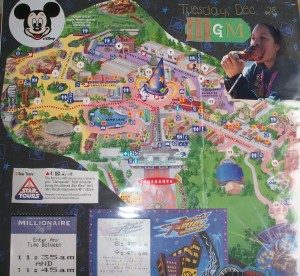
 What kind of things? Well, pretty much everything! Things we have used in scrapbooks in the past include: park maps, napkins, postcards in the rooms, parts of Disney bags, photopasses, park tickets, Key to the World cards, receipts, even pixie dust (Mickey sequins that are part of the Magic Kingdom daily opening celebration). (Granted, some of these are no longer available…but you get the idea). This is, of course, just a start. You really can…and should…use your imagination here. Nothing is off limits, as long as it can fit in a book. Oh, one more thing you absolutely will put in your scrapbook of course…pictures.
OK, you have collected your free memorabilia and are home now. How are you going to put your book together?
Essential Scrapbooking Supplies
There are a couple things that are important to keep in mind here. The supplies, album, paper, adhesive, stickers etc. can cost a fortune if you are not careful: there is some really cute stuff out there and it is easy to get carried away. So my recommendation is to set a budget that is affordable to you and stick to it. The most expensive item will be the album, but you can get a smaller one to save money here if necessary. Now Disney does sell scrapbooking supplies at the parks, so if you want to splurge you can get a Disney album…but don’t feel as if you need all the other stuff that they sell too! Remember, your memorabilia and pictures are what will matter the most here.
As to other supplies, you will need some decent adhesive. Glue sticks will work on most paper items, but for anything that is heavier, you will want a stronger adhesive. This is one area that you should check your local scrapbooking section for, and ask an associate for assistance if you need. Just, whatever you do, don’t use Elmer’s Glue, ok?
Beyond that, get maybe a dozen sheets of solid color cardstock: if you can get a pack or find a sale, this should cost no more than $5-6 tops. Make sure you have a decent pair of sharp scissors or exacto knife, and a good sturdy ruler. And that’s all you NEED for your book.
Now, let’s put it all together! Don’t worry, this is the fun part!
As I said earlier, please don’t let a lack of creative experience get in the way here. Instead of focusing on “how it looks”, concentrate instead on telling a story. You had a fantastic vacation at Walt Disney World, and made some amazing memories. Use those memories….helped by your free memorabilia and pictures….to tell the story of your vacation.
Have fun with this. You can organize and arrange your book however you want. Use the colored cardstock to form a “background” for your pictures, maps, and other items. Just take your time, measure and cut carefully and most importantly….don’t glue until you are sure you like how it looks!
Write Down Your Memories Too
Finally, be sure to leave space on each page to write. You want to include the story of your vacation. Journaling really “ties it all up” so give this part some thought. You can hand-write your memories on a piece of cardstock and glue it onto each page…or if you don’t like your handwriting, consider typing it out on the computer and then printing it out to add to the page.
One thing you might want to do to help with this part while on vacation: keep a journal and jot down what you did each day, funny/special things that happened, cute things your kids had to say etc. It can make the journaling part of your scrapbook a bit easier, if you have something to jog your memory.
That’s it really. The absolute most important things you want to remember about creating a Disney vacation scrapbook: use free stuff, keep it simple (and inexpensive), and HAVE FUN WITH IT.
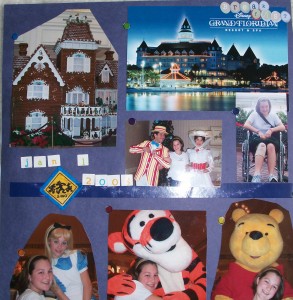
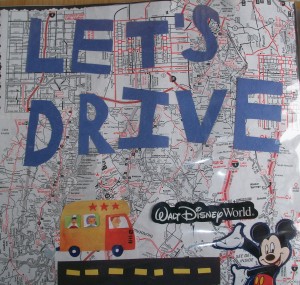
I have included a few pictures of one that my daughter did a number of years ago to give you some ideas. If you want more complex ideas, simply type in “disney scrapbook layouts” in Google Images and see what comes up. Keep in mind, many of these may include lots of expensive scrapbook supplies…but you will get some great inspiration for sure.
If you want to get an idea of what kind of Disney scrapbooking supplies are out there, check out Amazon.com or the Photo Memories section of Disneystore.com.
Now, go preserve some magical memories and create a priceless…but very affordable Disney souvenir. And let me know how it goes ok?
Find out how the FREE services of a Disney World travel agent can make planning your Disney vacation simple and STRESS FREE!
Want to know when Disney announces special savings and deals? Sign Up to Learn About the Latest Disney Promotions!


